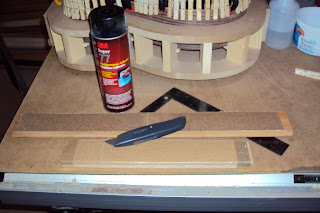
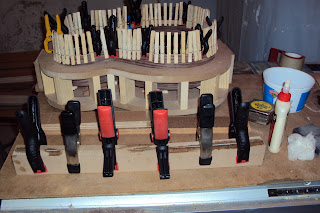
For the top you need to create a sanding bar wider than the guitar width - I think I found an oak flooring strip remnant that was 3.5" x 24", cut 80 grit sand paper to size, sprayed some 3M adhesive and stuck the sand paper on.
Now this is really cool. You loosen the the waist clamp enough to allow you to raise up the front of the guitar to a height equal to eight index cards above the mold. Keep the rest of the body flat to the mold.
Using a second sanding bar that is just wide enough to take down this raised portion, sand until it is flush to the mold. Voila - you have your neck angle set.
The bottom works somewhat similarly but has a much more pronounced contour. You take the two contour sticks provided with the kit, glue them together and apply medium/heavy - I think I used 100 - grit sand paper:
You can see the substantial contour on this.
If you recall - you can sort of see it on the tailblock in this picture - both the head and tail block extend well about the rim height.
These need to be shaved, chiseled, filed, planed down to the rim level using the contour stick as a guide to get the shape correctly - I did not get any pics of this step.
Then take your contour stick and sand down the rim and blocks and kerfing until they blend to the same level. You do need to take care to sand evenly. I found centering the bar over the middle of the mold and twisting back and forth kept it level and even.


No comments:
Post a Comment