The first step is to install the fret wire on the fret board. First I re-jiggered my workstation a little. For this part of the build you need a solid surface to nail on so there is no deflection or bounce when you hit it with a hammer. I simply turned my sawhorses 90 degrees so I would be nailing directly on to the cross piece of the horse. I also got out every tool I thought I might need - framing hammer, tack hammer and a cheepo that I got at a flea market for $2 this summer that has a plastic head and a hard rubber head. I was thinking about nailing frets when I boiught it. I also got out lineman pliers, wire cutters and wire nips not knowing what would work best to cut the wire. And I got a stool that would allow me to sit up high over the work so I could really whack down with the hammer. Here's my set up:
and a closer view of the tools.
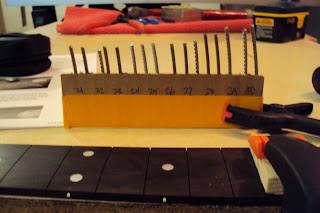
Since Ken's kit provides you with a pre-shaped, pre-slotted fret board, step one for me was to cut the fret wire into workable lengths. You want to cut the wire longer than the slots but I needed to be careful as I had a fixed lenght of wire and had to make sure I left enough for every slot. To keep track of the wires I set them into a length of corrugate that is taped on the bottom and held verticle with a small clamp. You may notice on the picture that the slots are numbered. I cam up with this idea when I was wiring effects pedals and needed to keep track of the resistors. As I sort through them they get slotted into the corrugate slot that correspondes to the reisistor number on the ICD. But back to the frets...
I got everything clamped up good and tight and started wailing. I started with the cheepo hammer using the solid plastic head and it worked so well I never changed. After two or three I got the technique down and it went really quickly;

a closer look with the frets hammered in:
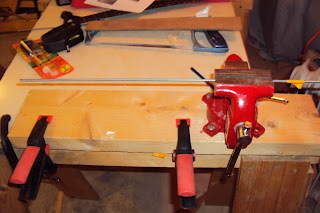
Next step secure the frets and cut them to length. I started to make a clamping caul that Ken suggests. You take two 1/8" threaded rods. Cut them to length
and epoxy them to a scrap of wood (MDF, whatever) that is the same size as the fret board. Hey, look, I found another use for the clothespins.
to be continued


No comments:
Post a Comment