So let's get cracking. I debated a few different ways to do this. I finally settled on taping the binding in place and releasing short sections, gluing and retaping as I moved along. Here it is with one side taped in place.
A common comment from the various how to's I've seen is to have tons of tape strips ready for quick application. So with the entire side taped in place and several extra strips at the ready it was go time.
I started at the neck block gluing and taping. Here you can see I've released the binding from the tape to give me room to apply some glue. Then I would retape, pulling very tight to make sure I had good contact and then move to the next 8" - 10".
Here's another angle of the same shot. From this point on it was glue and tape, glue and tape. I stopped taking pictures because I was trying to work quickly before I had problems with the glue setting up before I was ready.
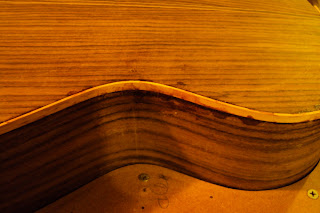
I worked my way around the one side and then let the glue set overnight. I just didn't have time to do more. This is the result.
And you can see I have a lot of tidying up to do, especially around the waist area where I got messier than I like. One of the reasons the Duco glue was the right choice is that this will clean right up with a good sharp metal scraper.
All in all not bad but I still have a lot more to do.


No comments:
Post a Comment